

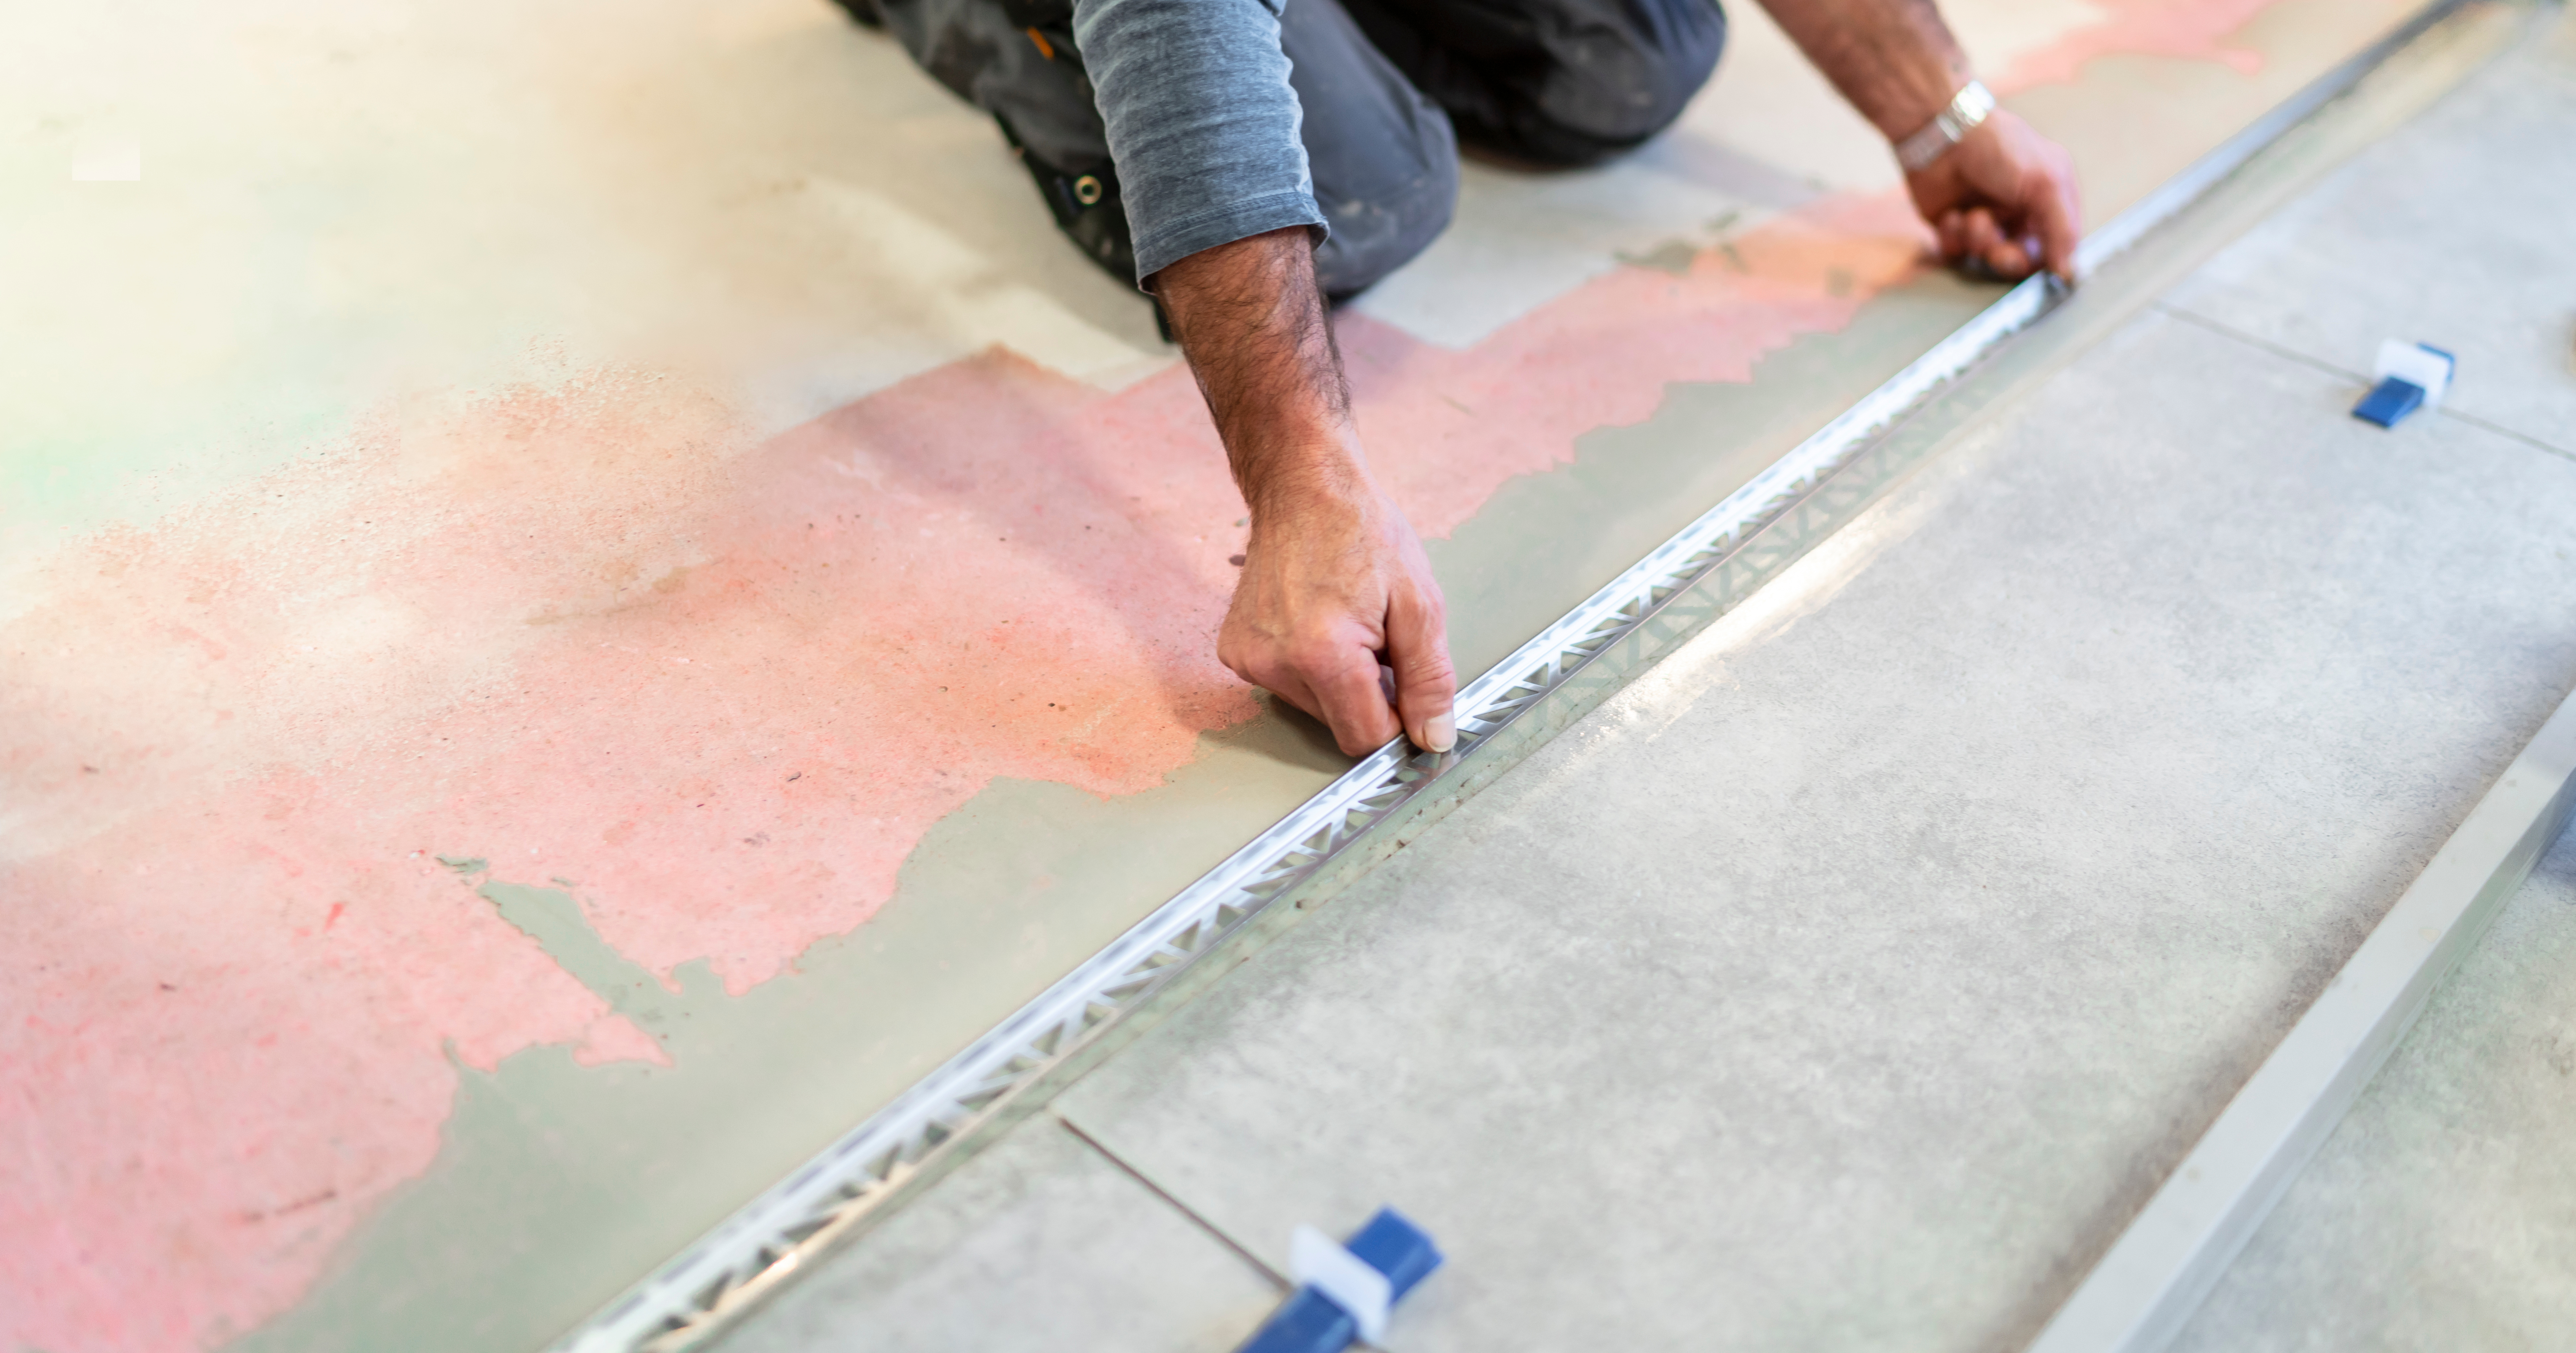
Tile edge profiles provide a clean finish for wall or floor tiles and permanently protect sensitive edges from damage. In this guide, we’ll show you step by step how to professionally install and properly care for tile profiles – regardless of the material. A customer favorite: stainless steel profiles – durable, long-lasting, and visually appealing.
What Is a Tile Edge Profile?
A tile edge profile – also called a tile trim or edge protector – is used to:
- neatly finish visible tile edges
- create smooth transitions between materials
- protect against chipping and moisture
Depending on the application and location, different materials are used: aluminum, stainless steel, plastic, or brass.
Preparation: What You Need for Installation
Tools and Materials:
- Tile profile (e.g., made of stainless steel, aluminum, or plastic)
- Tile adhesive
- Notched trowel
- Measuring tape & pencil
- Angle grinder or metal saw (depending on the material)
- File for deburring edges
- Spirit level
- Tile spacers
🔧 Tip: Stainless steel profiles are very popular but harder to work with – we recommend using an angle grinder with a stainless steel cutting disc.
Step-by-Step Installation Guide
- Determine profile height: Choose a profile that matches your tile thickness – e.g., a 10 mm profile for 10 mm tiles.
- Cut the profile: Use a metal saw or angle grinder depending on the material. Deburr the cut edge!
- Prepare the adhesive bed: Apply tile adhesive using a notched trowel where the profile will be placed.
- Insert the profile: Press into the adhesive bed and align using a spirit level.
- Lay the tiles: Lay tiles up to the profile, using tile spacers.
- Grout & clean: After the adhesive sets, apply grout and clean the profile thoroughly – especially important for stainless steel!
Material Comparison: Which Profile Suits Your Project?
| Material | Application Area | Properties |
|---|---|---|
| Stainless Steel | Bathroom, kitchen, outdoor areas | Rustproof, hygienic, durable – especially popular with our customers |
| Aluminum | Walls, floors, interiors | Lightweight, affordable, many design options |
| Plastic | Light-duty applications | Flexible, colorful, cost-effective |
| Brass | Decorative, visible areas | High-quality, exclusive look |
Care Tips for All Profiles – Especially for Stainless Steel
| Care Aspect | Recommendation |
|---|---|
| Cleaning | Use a mild, pH-neutral cleaner – avoid acids or abrasives |
| Prevent Discoloration | Avoid chloride-based products (e.g., toilet cleaners) |
| Post-installation Cleaning | Clean and dry thoroughly immediately after grouting |
| Maintain Shine | Polish with stainless steel cleaner or microfiber cloth if needed |
💡 Note: Especially with stainless steel profiles, excess adhesive should be removed immediately – dried residue can cause discoloration.
Common Mistakes to Avoid
- ❌ Incorrect profile height → edge sits too low or protrudes
- ❌ Wrong tools → uneven or jagged cuts
- ❌ Harsh cleaners → risk of material damage
- ❌ Misalignment during tiling → unclean finish
FAQ – Frequently Asked Questions
Can I install profiles afterward?
Usually not – they are embedded into the adhesive during tile installation.
Are self-adhesive profiles an alternative?
For flooring – yes. For wall tiles and wet areas, we recommend traditional embedded profiles.
Which is better – stainless steel or aluminum?
Stainless steel is more robust, easier to maintain, and ideal for damp areas. Aluminum offers more design variety and is easier to work with.
Conclusion
A matching tile edge profile ensures a clean and long-lasting result. Stainless steel profiles are especially popular due to their durability, hygiene, and elegant appearance. With proper installation and care, your project will look professional for years – no matter which material you choose.